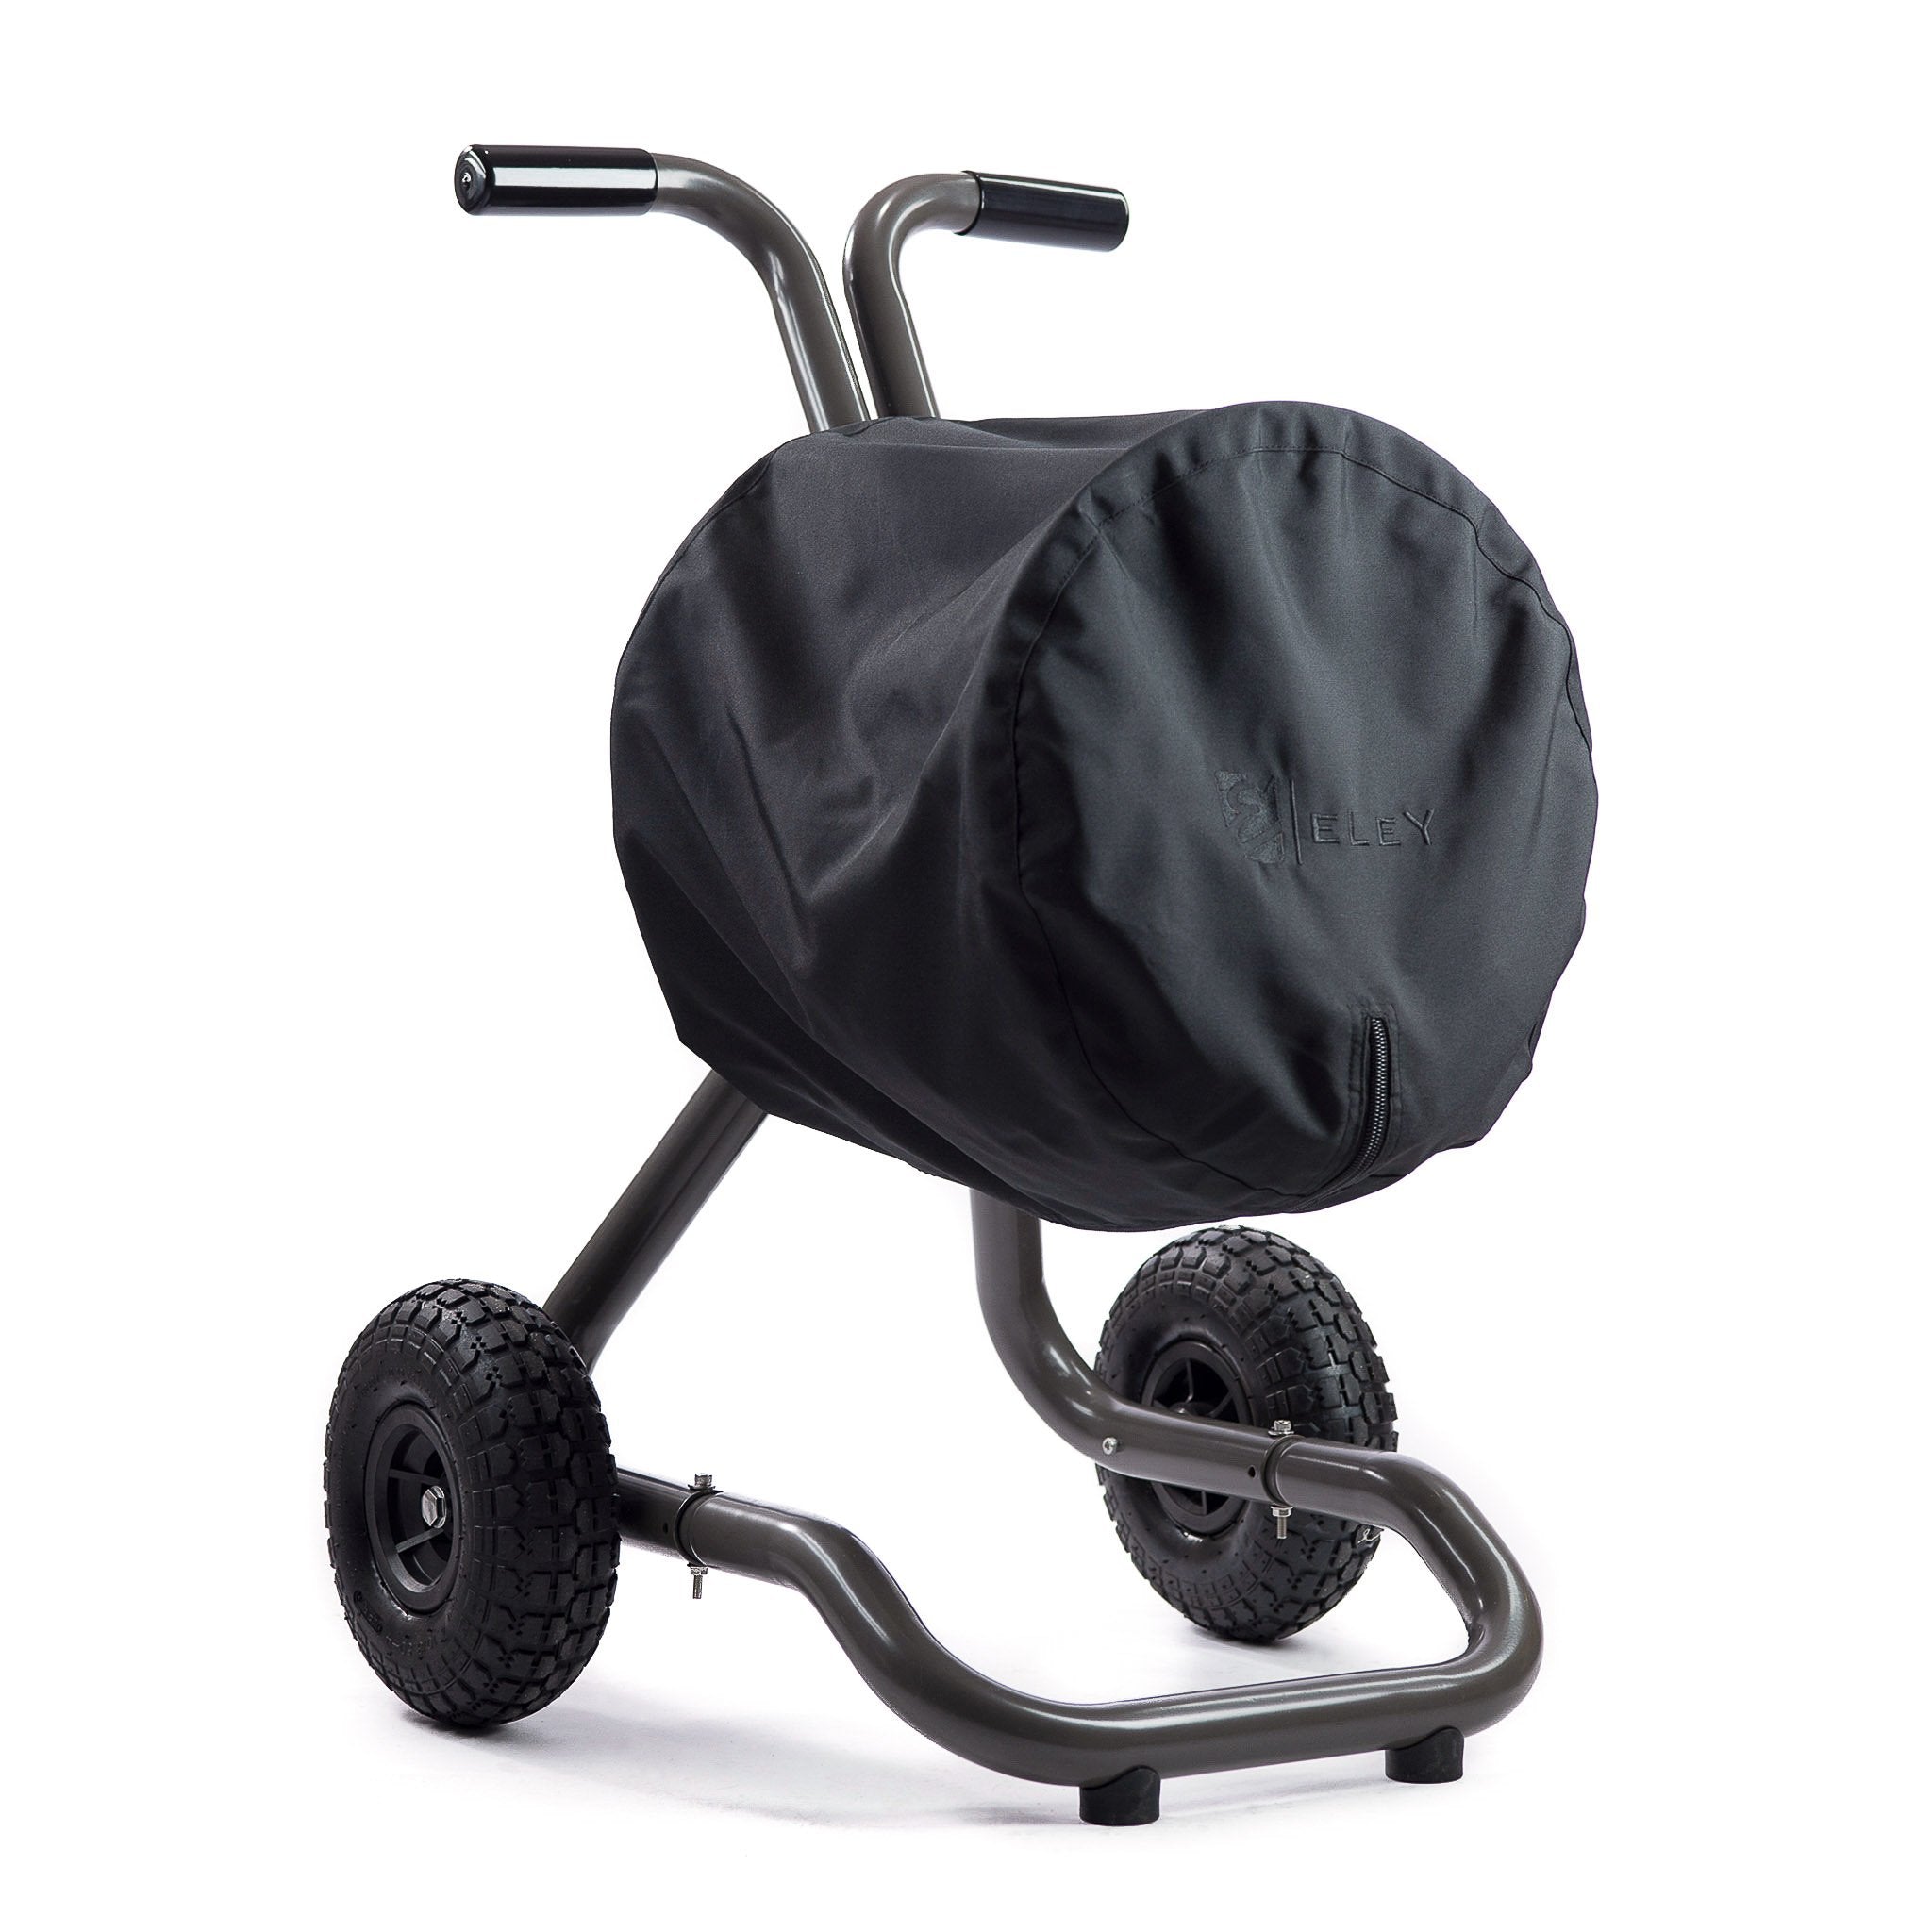

Assembly Video - Model 1042, Free-Standing Hose Reel
Assembly Video Demonstration for ELEY Model 1042
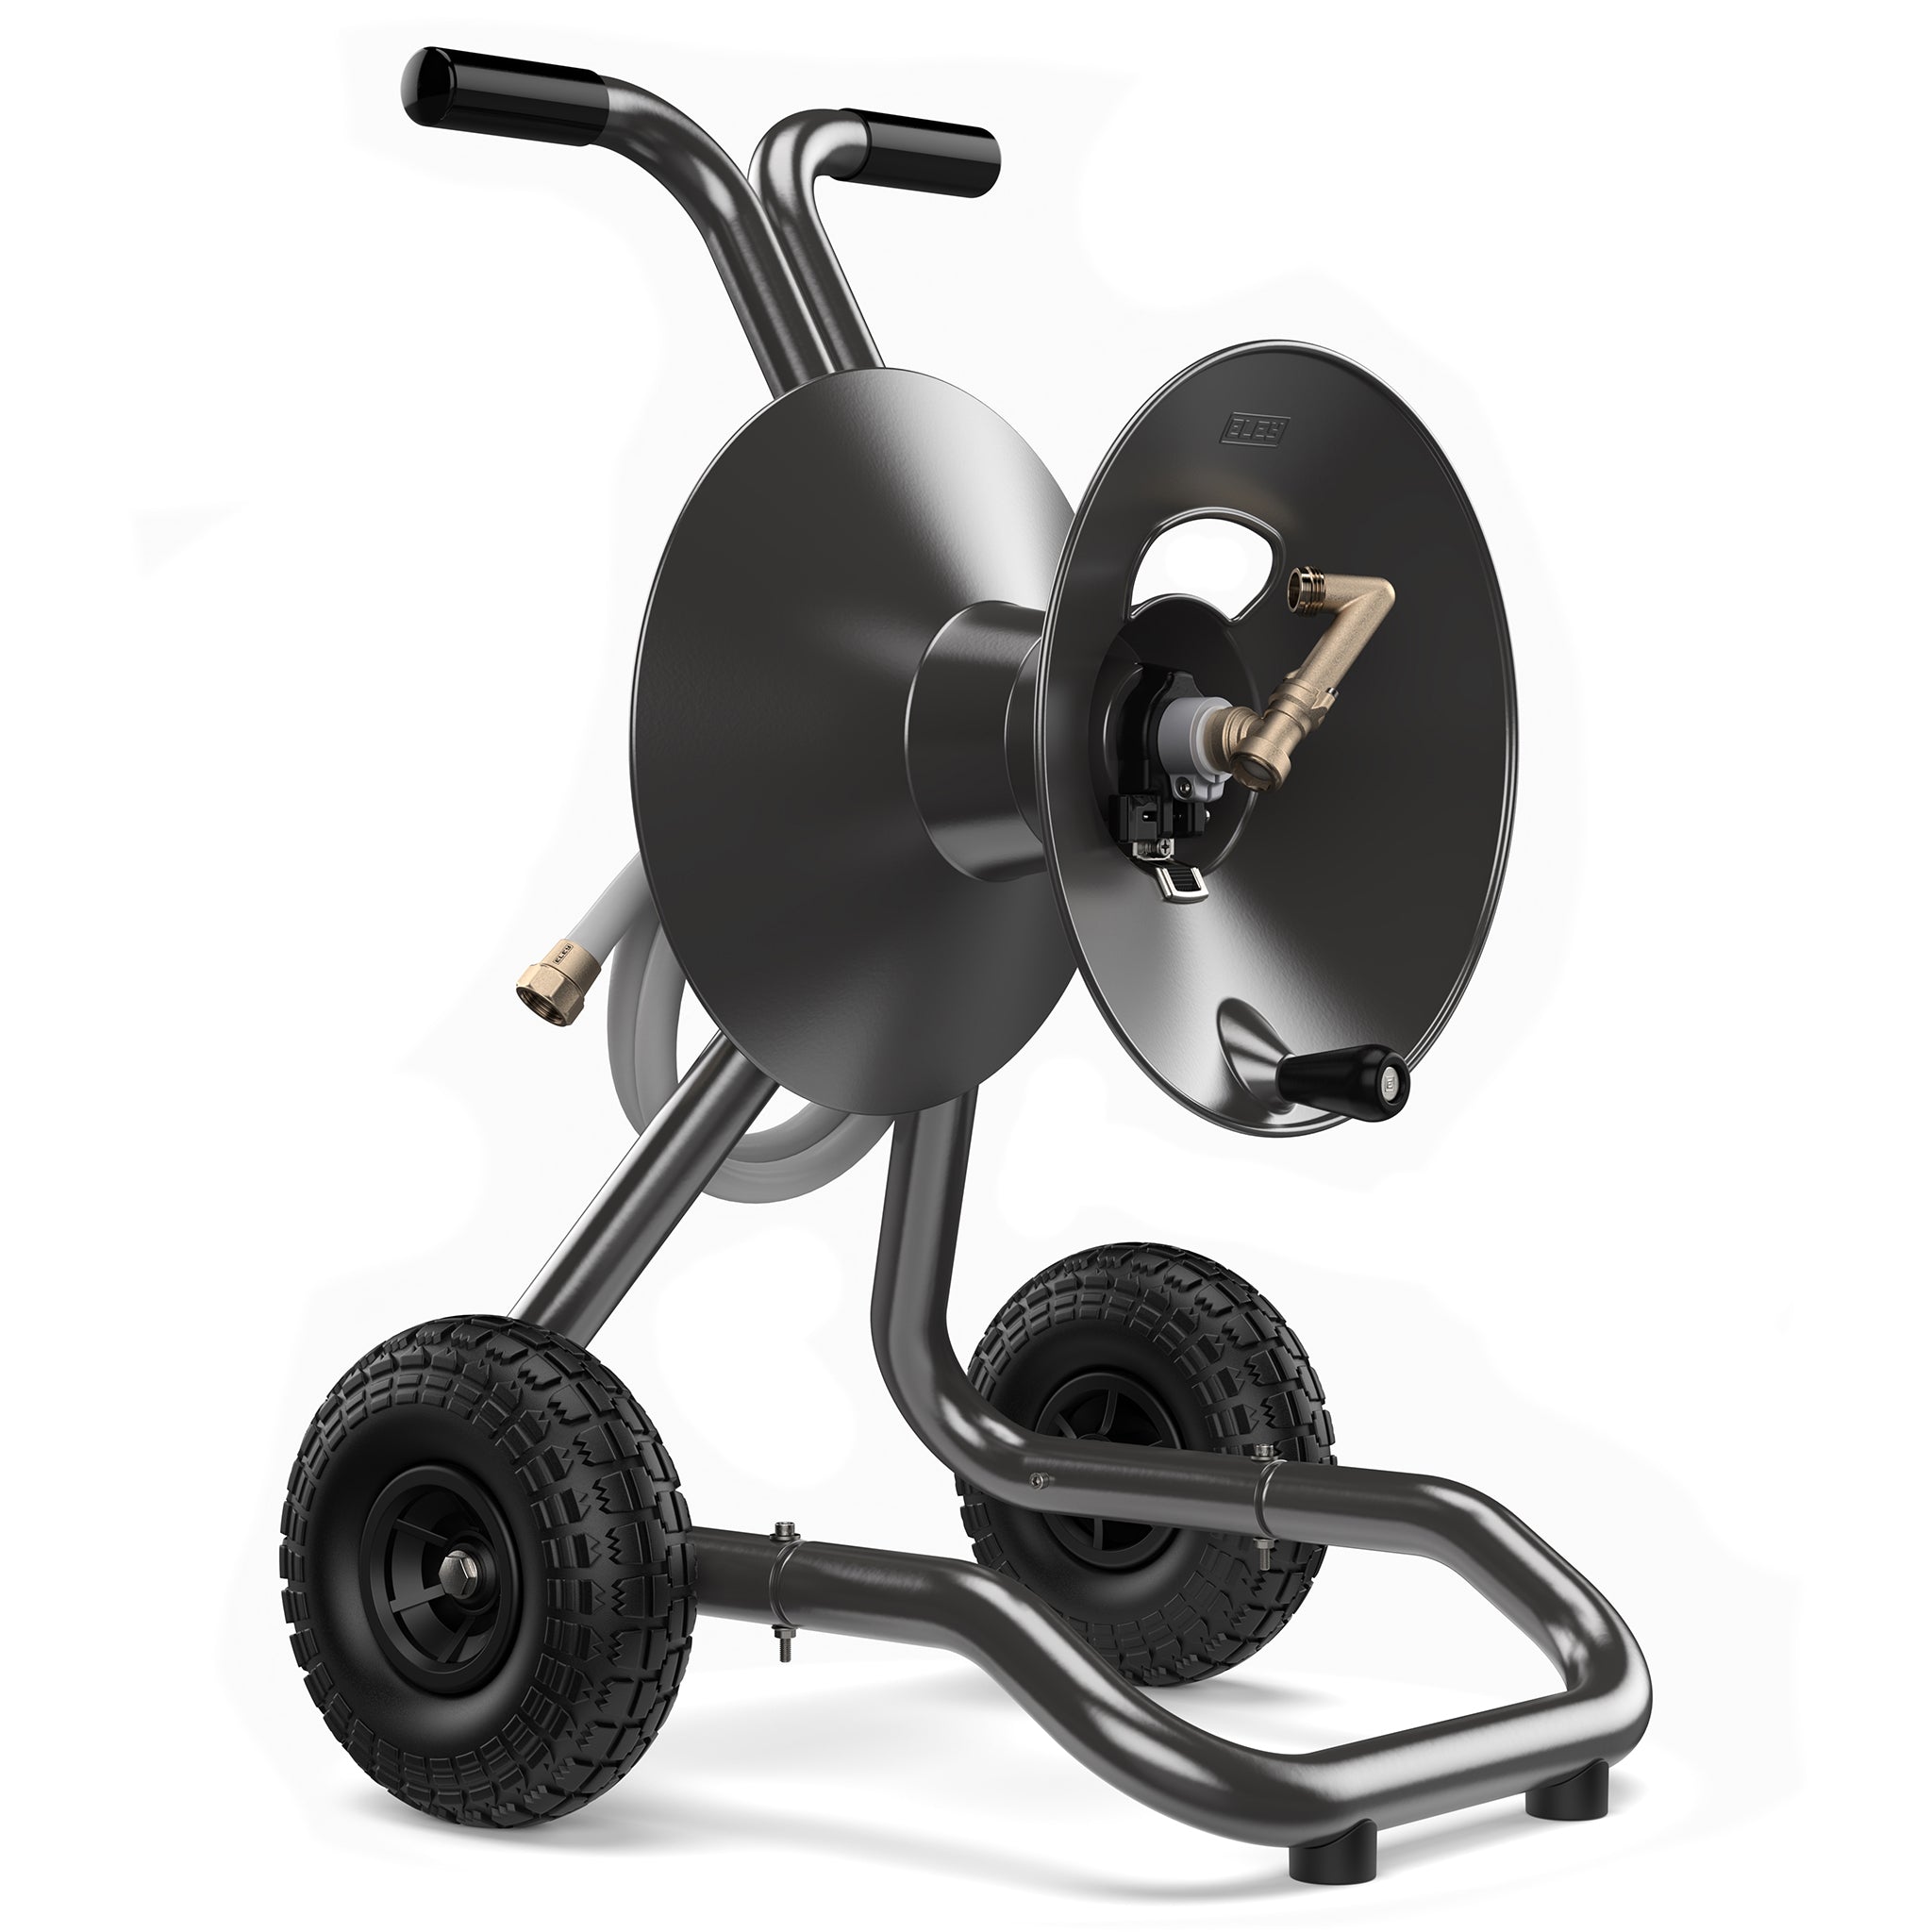
Standard Capacity -Free-Standing- Garden Hose Reel
| ⏱️ Time | Chapters | What You'll Learn |
|---|---|---|
| 0:00 | Introduction to Reel Assembly | Overview of the ELEY free-standing hose reel and the assembly process. |
| 0:31 | Unboxing & Initial Setup | Unpack the components and prepare the reel for assembly. |
| 1:13 | Install the Flanges & Crank Handle | Assemble the reel flanges and attach the crank handle. |
| 2:16 | Attach the Reel Arm to the Base | Secure the reel arm assembly to the free-standing base. |
| 3:05 | Install the Reel, Hose Strap & Cam Lever Brake | Attach the reel assembly, hose strap, and cam lever brake components. |
| 3:52 | Install the Brass Swivel | Attach the swivel to the reel to prepare the water connection. |
| 4:42 | Connect the Garden Hose to the Reel | Attach the garden hose to the reel and prepare it for winding. |
| 6:38 | Adjust the Cam Lever Brake | Set the brake tension for smooth, controlled reel operation. |
| 7:26 | Assembly Complete & Support | Review the completed assembly and learn where to find additional support. |
Assemble ELEY Garden Hose Reel Free-Standing
In this video, the manufacturer demonstrates how to assemble an ELEY hose reel Free-Standing. The video demonstration, closed captions, and detailed instructions on this page were created to provide additional clarification during the assembly process.
If you have questions about any of our products, warranties, or guarantees, please review our helpful resources and customer service information, or use our online help desk for comprehensive 24/7/365 support.
INSERTING THE HOSE & PLACING THE DRUM AND HOSE STRAP
The inlet hose will need to stay in place, fed through the axle far enough to attach to the swivel.
- Insert the hose before placing the drum or hose strap.
- Make sure the drum is pushed all the way on and the front flange is facing forward.
Instructions: Feed the male end of the hose through the axle until it just shows out the front. Next take the hose strap assembly and feed the nylon strap through the rectangular opening, pushing the assembly into place.
INSTALLING THE CAM-LEVER BRAKE
- Make sure the tab on the brake aligns with the notch in the front flange.
- Watch a separate video demonstration for additional information on adjusting and using your cam-lever brake.
ATTACHING THE HOSE TO THE SWIVEL
The inlet hose will thread into the port with the aluminum collar on the swivel.
- The swivel can be rotated in either direction to make it easier to install onto the reel.
- Make sure the O-ring gasket is in place before attaching the swivel.
Assembly Tip: Be sure to tighten the inlet hose firmly to prevent this connection from developing a leak. Use pliers to tighten more securely.
Instructions: Using a firm grip on the swivel's aluminum collar, attach it to the inlet hose. Then attach the swivel to the reel's axle. Make sure the hex head of the screw is facing up toward the opening in the front flange. Feed the hex key wrench through the opening in the flange to tighten the aluminum collar onto the axle of the reel.
Attaching the Garden Hose to the Reel
You can set up your hose reel for right-handed or left-handed rewinding. Position the stem of the swivel and feed the garden hose through the opening based on the direction you want to wind.